


Commande minimum de 30 $, livraison gratuite à partir de 99 $
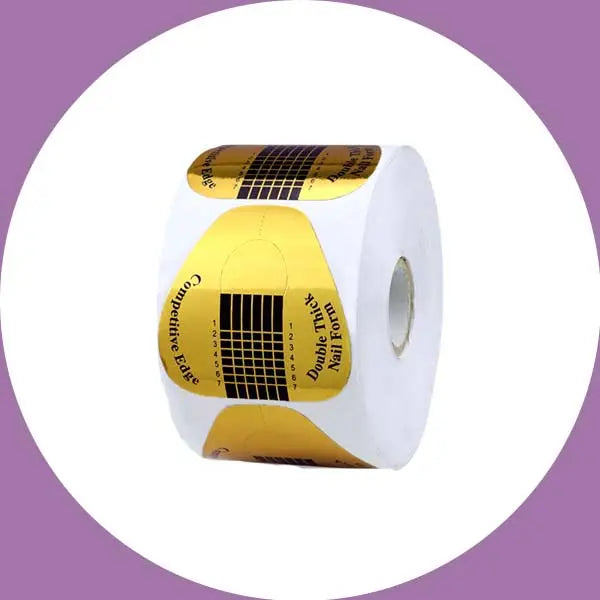

Acrylic Nail Forms
- $6.99
- $6.99
- Unit price
- per
SKU:
92001
Availability:
In Stock
Please hurry! Only 10 left in stock
Limited-Time Offers, End in:
151D
8H
23M
0S
10 customers are viewing this product
Couldn't load pickup availability
Free Shipping
Free standard shipping on orders over $99
Free Returns
Learn More.
Built And Shipped Within 7 - 10 Bussiness Days

Application
Nail forms, often referred to as U-shaped or horseshoe-shaped paper forms, are typically made from flexible and highly absorbent paper material. They are suitable for various nail procedures, including nail polish application, gel nails, and light-cured nails. Their design conforms to the natural curve of the nails, making it easy to fit around the nail.
- Foundation for Nail Extensions:
Shaping the Extension: Nail forms act as a foundation for the extended nail, providing support and shaping the extended part of the nail. They fit snugly at the end of the natural nail, offering a stable platform for applying extension materials evenly, thus creating the desired length and shape. - Enhancing Stability of Extensions:
Preventing Material Deformation: During the nail extension process, nail forms help prevent the extension materials (such as acrylic or gel) from deforming as they cure. This ensures that the extended portion remains flat and symmetrical, enhancing both the stability and aesthetics of the extension. - Protecting Natural Nails:
Reducing Pressure on Natural Nails: Nail forms protect the natural nail during the extension process by minimizing the stress and pressure exerted by the extension materials. This helps maintain the health and integrity of the natural nail. - Simplifying the Extension Process:
Ease of Application: Using nail forms makes the nail extension process more efficient and straightforward. They provide a clear working area, allowing nail technicians to apply and shape the extension materials with greater precision, reducing the need for extensive corrections and adjustments. - Enhancing Durability of Extensions:
Improving Adhesion: Nail forms enhance the adhesion of extension materials to the natural nail, reducing the chances of air bubbles or uneven application. This contributes to more durable extensions that are less likely to lift or break. - Supporting Diverse Designs:
Facilitating Complex Nail Art: With the help of nail forms, it becomes easier to achieve various complex nail designs such as sculpted flowers or embedded decorations. They provide a stable foundation, making the creative process smoother and more detailed.
Advantage
- Design Conforms to the Natural Curve of the Nails:
U-shaped nail forms are designed to match the natural shape and curve of the nails, allowing them to fit perfectly around the nails. This design ensures stability and comfort during use, preventing the forms from easily shifting out of place. - Versatility:
U-shaped nail forms are suitable for various nail procedures, including traditional nail polish, gel nails, and light-cured nails. Regardless of the type of nail technique used, these forms help achieve the desired results effectively. - High Flexibility and Absorbency:
Made from flexible and highly absorbent paper materials, U-shaped nail forms can be easily adjusted to fit different nail shapes. They also efficiently absorb excess product, keeping the work area clean and tidy. - Simplifies the Application Process:
Using U-shaped nail forms significantly simplifies the nail application process. They provide a clear working area, allowing nail technicians to apply and shape nail products with greater precision, reducing the time needed for corrections and adjustments. - Protects Skin and Nails:
During nail procedures, U-shaped nail forms effectively protect the skin around the nails from excess product and potential damage. They also prevent the nails themselves from experiencing excessive pressure and harm, maintaining their health.
How to use
- Preparation:
Gather the necessary U-shaped nail forms and other manicure tools, including nail polish, gel, brushes, etc. - Prepare the Nails:
Trim and shape the nails, buff the surface to make it smooth, and clean the nails to ensure they are dry and free of any oils or residues. - Select the Appropriate Nail Form:
Choose the U-shaped nail form that fits the size and shape of your nail. Ensure that the form fits snugly around the nail without leaving too much gap or being too tight. - Apply the Nail Form:
Align the opening of the U-shaped nail form with the base of the nail bed and gently press it into place. Make sure the form adheres closely and doesn’t move out of place. - Apply Nail Products:
Depending on your preference and chosen nail technique, apply nail polish, gel, or other nail products. Be sure to apply the products evenly on the nail form, avoiding excess product spilling over the edges. - Wait and Cure:
Follow the instructions for the nail product you are using and allow sufficient time for it to dry or cure completely. This could involve air drying or using a UV/LED lamp. - Remove the Nail Form:
Once the nail product is fully dried or cured, gently peel or push off the U-shaped nail form. Take care not to damage the nail or the design. - Refine and Finish:
If needed, refine the shape and length of the nails and use other manicure tools to add finishing touches and enhancements.
Precautions
- Choose the Right Size:
Ensure you select U-shaped nail forms that match the size and shape of your nails. Using forms that are too large or too small can affect the final nail art result. - Keep Nails Clean and Dry:
Before applying the nail forms, make sure your nails are clean and free of oils. You can use alcohol to wipe the nail surface to remove any excess oils. - Adjust the Position of the Nail Form:
When placing the U-shaped nail form at the base of the nail, ensure it is positioned correctly and fits snugly. Improper placement can cause gel or nail polish to leak. - Avoid Excessive Pressure:
Apply the nail form gently without applying excessive pressure to avoid deforming the form or damaging the nail. - Apply Products Evenly:
When applying gel or nail polish, make sure to apply it evenly. Too thick a layer may not cure properly, while too thin a layer may not achieve the desired effect. - Follow Curing Time:
Follow the recommended curing time based on the product you are using. For example, when using UV or LED lamps to cure gel, ensure sufficient time for complete curing. - Carefully Remove the Nail Form:
After the gel or nail polish has fully cured, carefully peel off the U-shaped nail form from the edge of the nail. Avoid pulling forcefully to prevent damaging the nail or the completed nail art. - Maintain a Clean Work Environment:
Ensure your work area is clean and tidy to avoid dust, hair, or other debris contaminating the uncured nail polish or gel. - Prepare and Clean Up Properly:
Before starting, have all necessary tools and materials ready. After use, promptly clean and organize your tools to ensure they are in good condition for next time. - Health and Safety Considerations:
If you experience any discomfort or allergic reactions on your nails or skin, stop using immediately and consult a professional doctor or dermatologist.
Related Products
Recently Viewed Products
- Choosing a selection results in a full page refresh.